
As an Amazon Associate, this website earns from qualifying purchases.
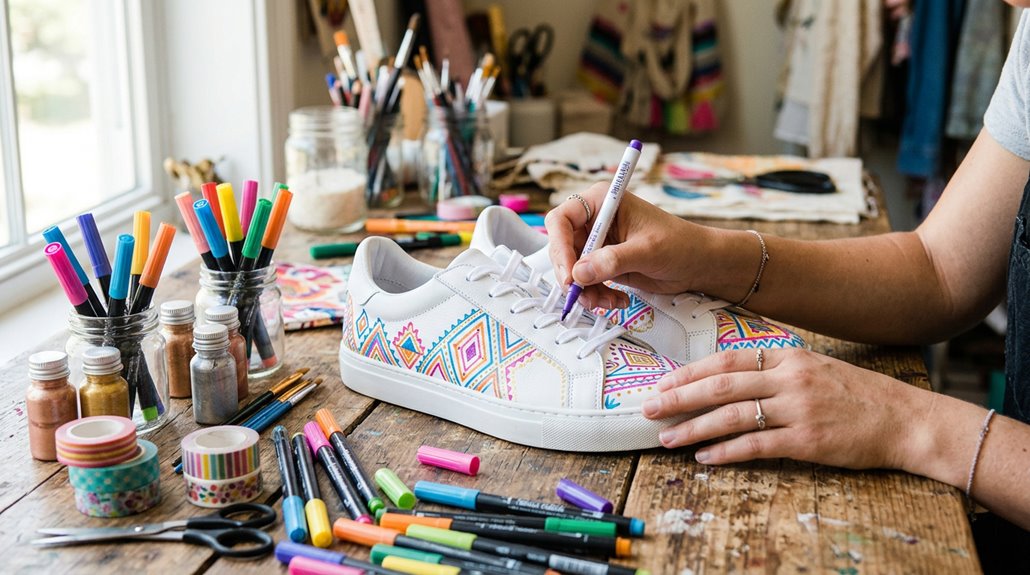
Customizing sneakers can be simple and fun for beginners. Start by choosing shoes with smooth surfaces like canvas or leather, which help paint or dye stick evenly. Clean them thoroughly, mask off areas you want to protect, and use quality acrylic paints or fabric dyes. Apply thin, even coats, building up color gradually. Finishing with a clear sealer protects your design, making your shoes last longer. For more tips and step-by-step techniques, there’s plenty more to discover.
How to Choose the Right Shoes for Customization
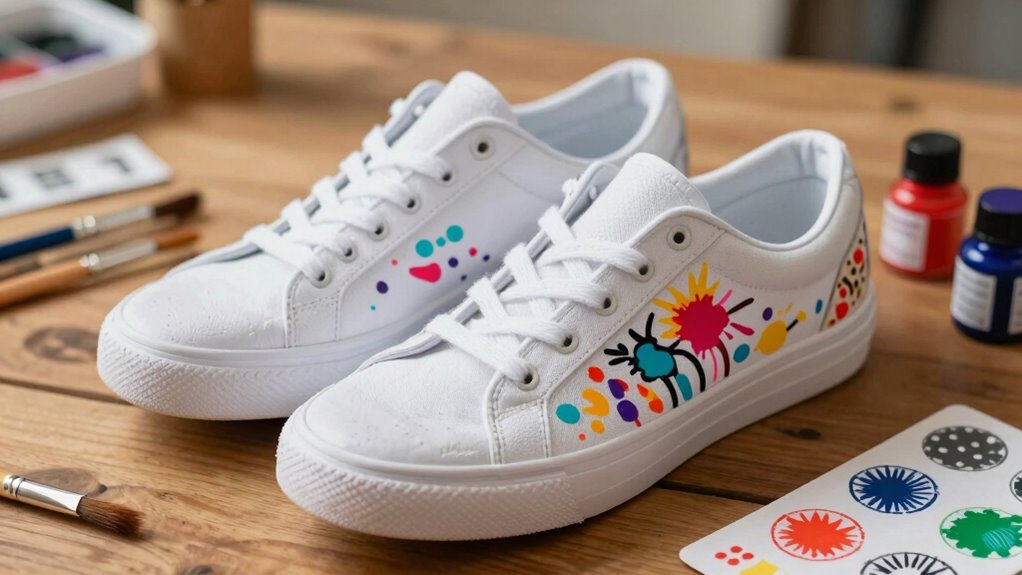
Have you ever wondered why some sneakers seem to lend themselves better to customization than others? In the world of fashion DIY, choosing the right footwear material is key. Shoes with smooth, non-textured surfaces like canvas, mesh, or leather tend to work best because they allow paint to stick more evenly.
For fabric or canvas shoes, using fabric-safe acrylic paints or dye baths results in vibrant, lasting colors, especially when applying multiple thin coats. Leather shoes benefit from a leather preparer or deglazer, which removes the finish and helps paint adhere better.
It’s also smart to pick shoes with some flexibility; overly stiff materials might crack or peel. Lastly, light-colored or white bases make colors pop more vividly, giving beginners a great starting point for their creative projects.
Preparing Your Shoes: Cleaning and Masking Tips
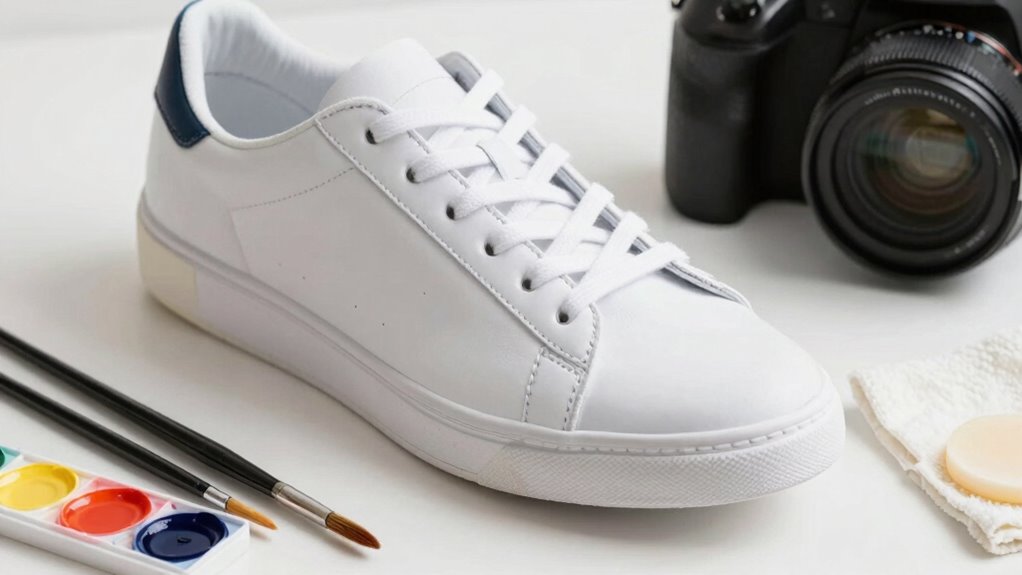
Wondering how to get your shoes ready for a successful makeover? Proper surface preparation is key to a smooth, professional-looking finish. Start with sneaker cleaning, using mild soap and warm water to remove dirt, dust, and debris. For leather shoes, consider a leather cleaner to ensure a contamination-free surface.
To improve paint or dye adhesion, remove any existing finish with acetone or a deglazer, which opens up the pores. Mask off areas you don’t want to change, like soles or logos, using painter’s tape. This step helps keep your design neat. If the surface feels too smooth, lightly sanding with fine-grit paper (400–600 grit) creates a better grip for your paint.
Follow these steps to set the perfect surface for your creative project.
Essential Materials for Shoe Customization Projects
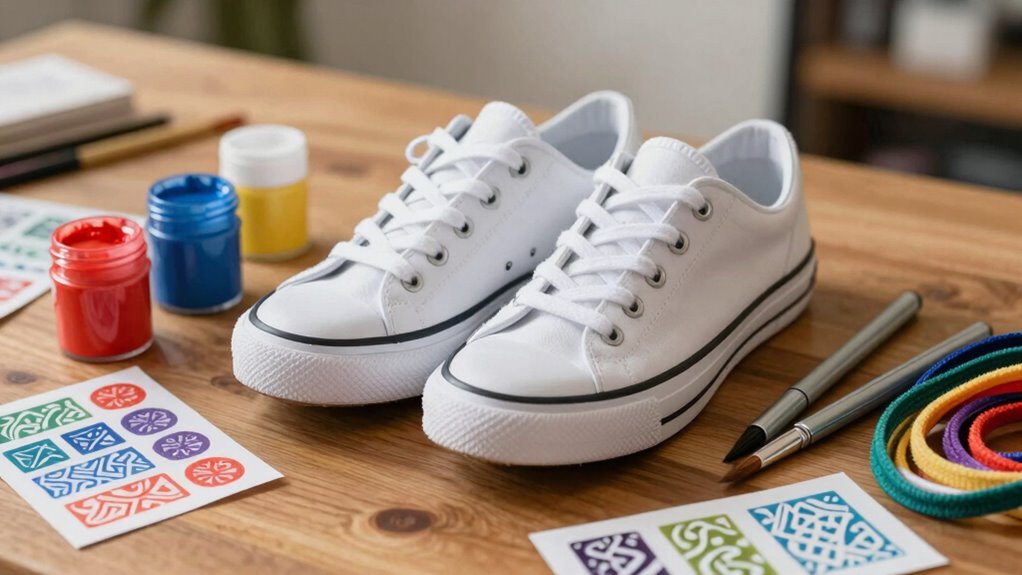
A well-stocked set of essential materials can make all the difference in a successful sneaker customization project. Whether you’re aiming for a cool converse makeover or an air force 1 DIY, having the right supplies helps ensure a smooth process. Quality paint brushes are a must for neat detail work, while painter’s tape is invaluable for masking off areas you want to keep clean and sharp.
Before painting, a cleaner and leather deglazer prepare the surface for better adhesion. Using high-quality acrylic paint provides vibrant colors and durability, especially when applied in thin, even layers. Afterward, a protective finisher seals the design and prolongs the artwork, keeping your sneakers fresh longer. These materials set the foundation for creative, professional-looking results.
Step-by-Step Guide to Spray Painting Your Sneakers
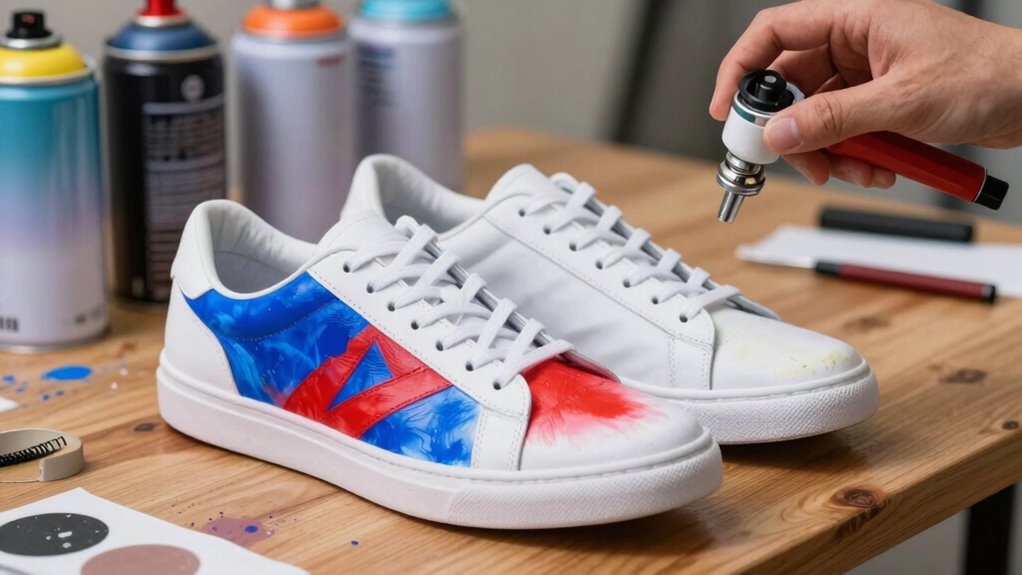
Spray painting sneakers can be a fun and rewarding way to customize your shoes, giving them a fresh, personalized look. When customizing shoes like a custom Air Force 1 DIY, preparation is key.
First, clean the sneakers with mild soap and warm water. Then, use a leather cleaner or deglazer to open the pores for better paint adhesion. Next, mask off areas you don’t want painted—cover soles and logos with painter’s tape.
Then, apply a thin, even coat of primer to enhance adhesion and vibrancy, allowing each coat to dry fully. Finally, spray in multiple ultra-thin layers, letting each dry before the next. To complete the project, finish with a protective topcoat to seal the paint and make your design last longer.
How to Dye Shoes Using the Bath Method and Tips
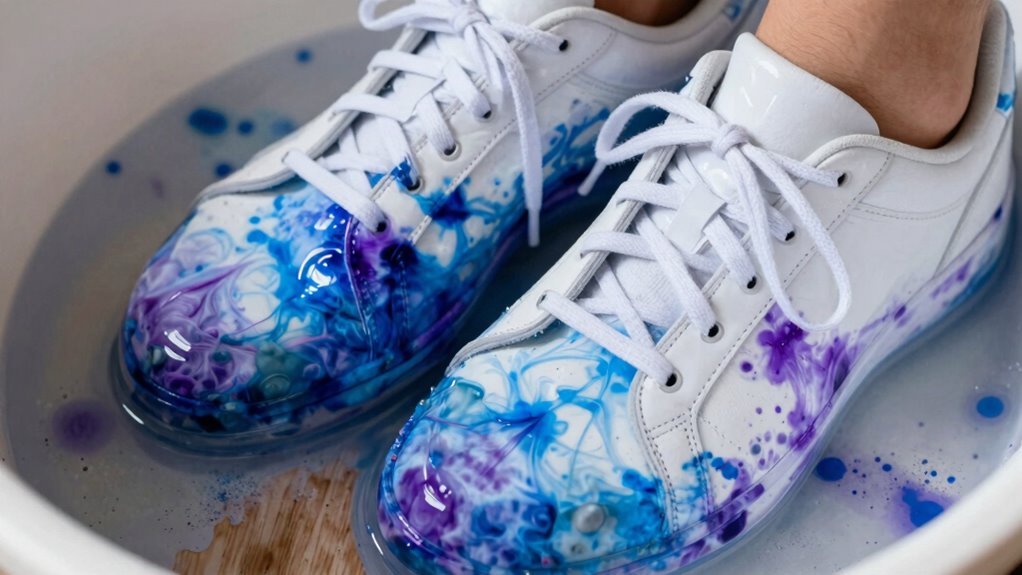
Have you ever wanted to completely change the look of your shoes with just a splash of color? The bath method is a fun, simple way to do that, especially on fabric or canvas shoes.
First, clean your shoes thoroughly to remove dirt, then tape off areas you want to keep free of dye. Prepare a large pot with hot water and add liquid dye, stirring to ensure even color. Carefully submerge your shoes using tongs, making sure they’re fully covered.
Keep the bath at the right temperature and stir occasionally to prevent patchy spots. After soaking for the recommended time, rinse the shoes well with water and air dry. For added durability, you can seal the color once dry. This method offers vibrant, uniform results for a fresh new look.
Applying Paint and Correcting Mistakes Like a Pro
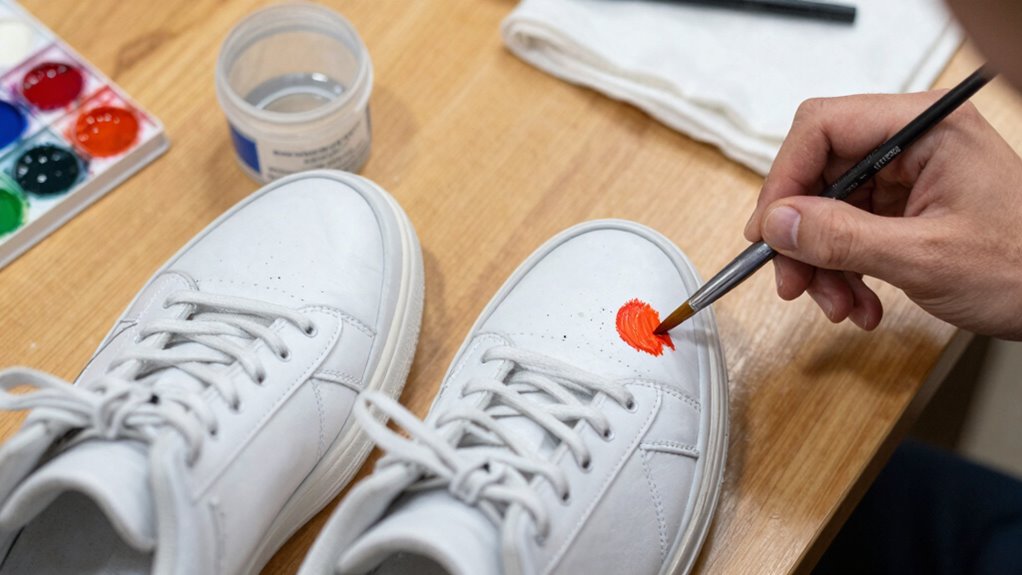
After soaking shoes in dye, the next step is applying paint to add personalized designs or touch-ups. To achieve smooth, professional-looking results, it’s best to apply thin, even coats of paint in multiple layers, letting each dry completely before adding the next. This prevents runs and ensures rich, consistent color.
Here are some tips to help:
- Use a leather-preparer or deglazer on leather surfaces to open pores and improve paint adhesion.
- Mask off non-paint areas like soles and logos with painter’s tape to avoid accidental color bleed.
- For mistakes, gently remove excess paint with acetone, carefully so the surrounding design stays intact.
- Seal the finished artwork with a clear acrylic finisher for extra durability and vibrant color longevity.
Creative Lacing Techniques to Enhance Your Custom Shoes
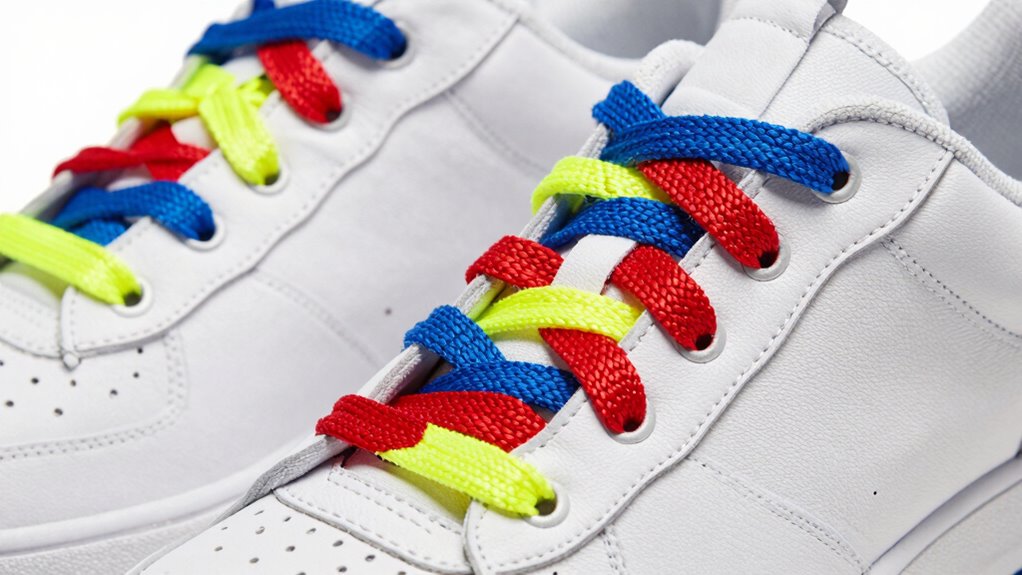
Ever wondered how a simple change in lacing can totally transform the look of your shoes? Different lacing styles can add personality and flair, turning basic sneakers into eye-catching footwear.
For a sleek, formal vibe, bar lacing offers a clean, low-tension appearance. If you want something more casual, crisscross lacing provides medium tension and a classic look.
For an edgy, statement style, zipper lacing creates a high-tension, unique pattern. Elastic laces are perfect for slip-on convenience, with adjustable tension secured by lace anchors.
Brightly colored Bread Laces or patterned options can add a pop of personality.
To try these techniques, simply remove old laces, select your preferred style, thread through the eyelets, adjust for comfort, and secure—easy steps to elevate any pair of sneakers.
Adding Custom Shoelaces and Exploring No-Tie Options
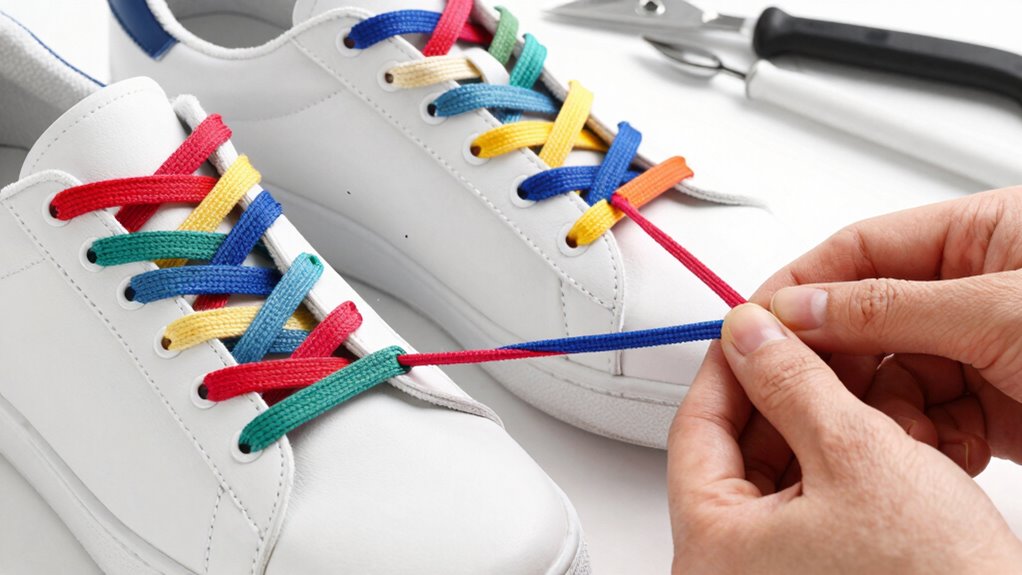
Thinking about how to make sneakers more comfortable and convenient? Adding custom shoelaces, especially elastic ones, can be a game-changer. They offer a no-tie look while keeping a secure, comfy fit. To install, follow these steps:
- Remove old laces and thread the new elastic ones through all eyelets.
- Adjust for even tension across the shoe.
- Secure with lace anchors to keep everything in place.
- Trim excess and test for comfort.
Elastic laces come in vibrant colors, matching or contrasting your design. For a quick slip-on style, no-tie options like these are perfect. They also work well with different lacing methods—whether you prefer a formal bar or edgy zipper look—adding both style and convenience to any sneaker.
Final Protective Steps for Long-Lasting Custom Designs
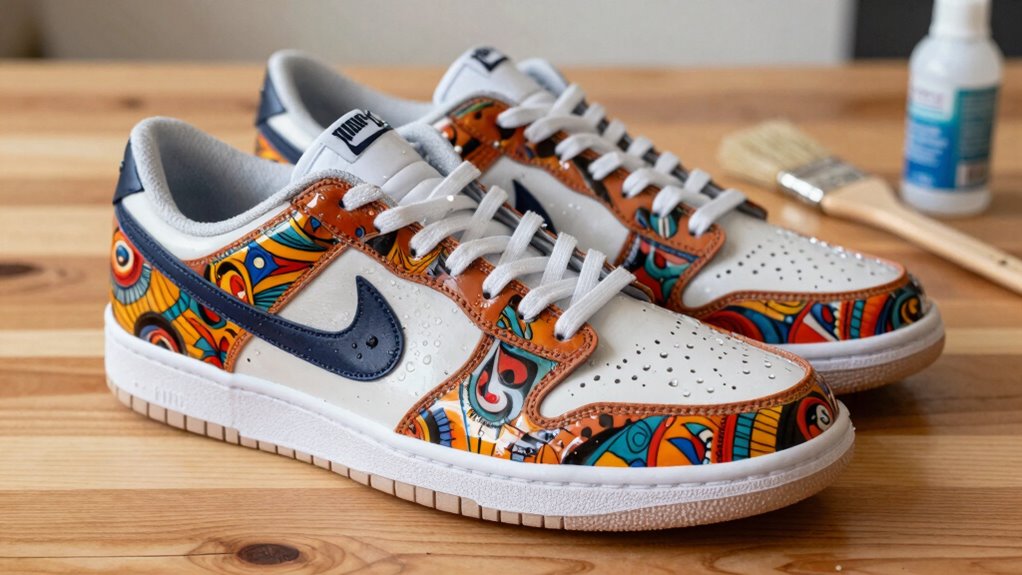
Have you ever wondered how to make your custom sneaker design last through daily wear and tear? The key is applying a protective finish after painting. A clear layer, either matte or gloss, helps shield the artwork from scratches and scuffs. It’s important to use a thin, even coat and let each layer fully dry before adding another. Rushing can cause tackiness or smudges.
Before applying the top coat, ensure the paint underneath is completely dry and cured to prevent colors from bleeding or smudging. Choosing an acrylic finisher compatible with the paint ensures good adhesion and flexibility, especially on leather or fabric. For extra durability, consider a finisher designed to stay flexible and resist cracking, keeping your custom sneakers looking fresh longer.
Troubleshooting Common Issues and Tips for Perfect Results
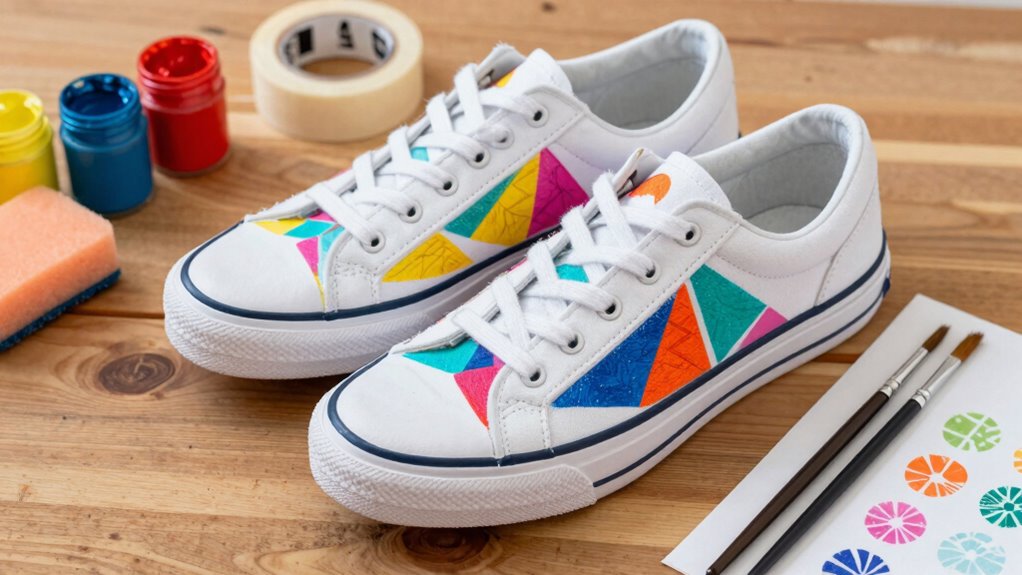
Even with careful planning and patience, mistakes can happen when customizing sneakers. Common issues include uneven paint, cracking, or poor adhesion. To avoid these problems, beginners should:
- Use proper surface prep, like leather preparer or deglazer, to open pores and improve paint grip.
- Apply paint in thin, even layers, allowing ample drying time between coats to prevent cracking.
- Use the right tools and materials, such as Angelus 2-Soft for softer fabrics, to enhance flexibility and adhesion.
Seal the finished design with an acrylic finisher to protect the artwork and resist scuffs.