
As an Amazon Associate, this website earns from qualifying purchases.
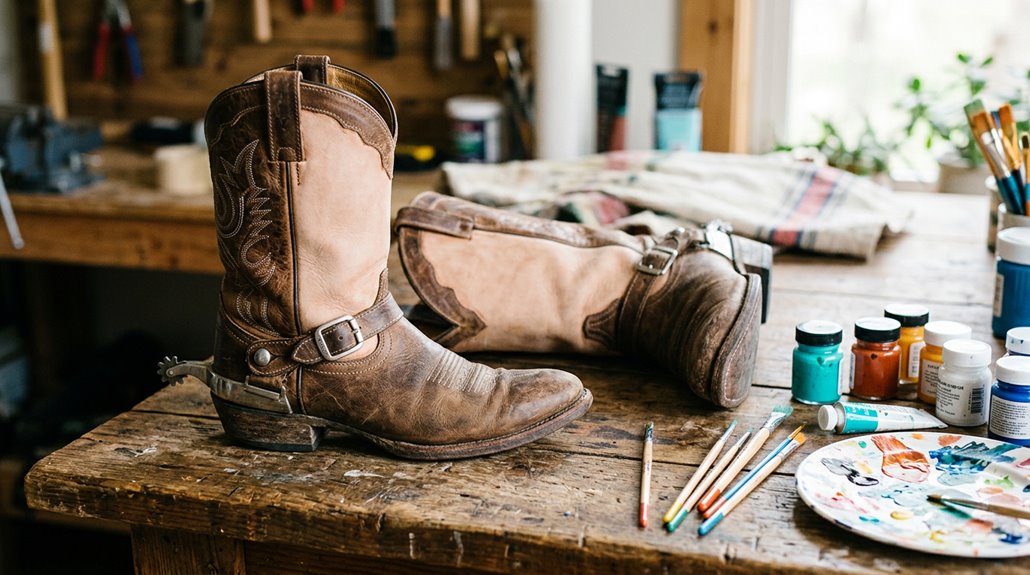
To paint cowgirl boots, start with a thorough cleaning using soap or vinegar solutions, then dry completely. Lightly sand any glossy areas to help paint adhere better. Apply a coat of BOSS primer to ensure vibrant colors stick and look sharp. Use water-based paints like latex or acrylic for durability, starting with a smooth base coat. Add details with smaller brushes, blending colors gently. Finish with protective wax or oil for lasting beauty. If you keep going, you’ll uncover even more tips to perfect your painted boots.
Understanding the Basics: What You Need to Know Before Painting Cowgirl Boots
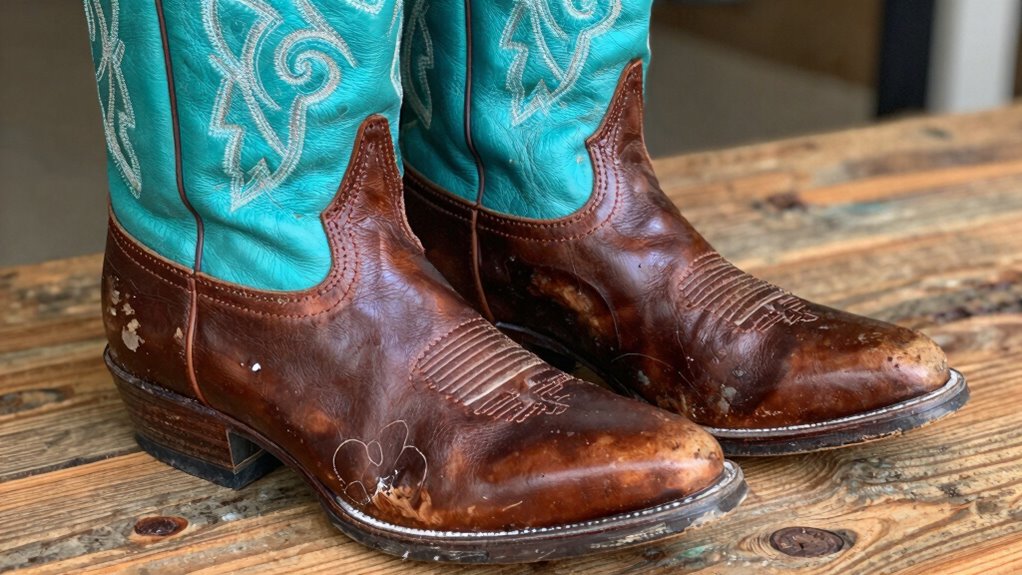
Have you ever wondered what it takes to transform a plain pair of cowgirl boots into a vibrant piece of art? When it comes to leather painting, understanding your cowboy boots is essential. Leather can be cleaned with water and mild soap or a vinegar-water solution, then dried thoroughly. This step ensures a smooth surface for painting.
Depending on the finish you want, applying a primer like BOSS might be necessary—especially on slick or light-colored leather—helping the paint adhere better. Chalk mineral paint is popular because it offers rich pigmentation and often covers in just one coat, saving time. After painting, a finish like wax or hemp seed oil can seal your work, making your cowboy boots both beautiful and durable. These steps will help your boots turn heads for years to come.
Gathering the Right Supplies: Tools and Materials for a Flawless Finish
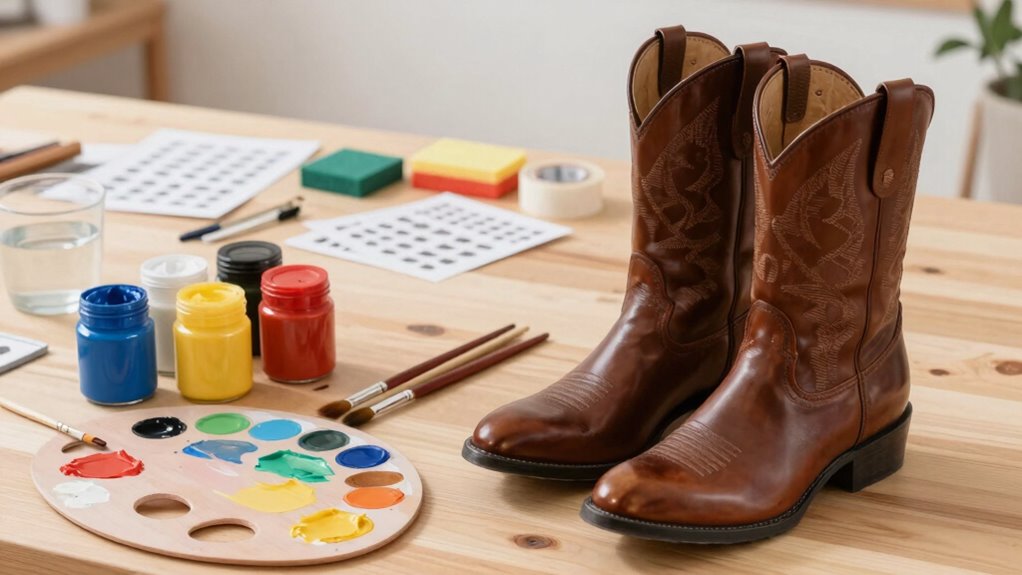
When tackling the art of painting cowgirl boots, choosing the right tools and materials can make all the difference between a professional-looking finish and a sloppy mess. Essential painting supplies include water-based latex or acrylic paints, which help prevent peeling on leather and provide a durable, vibrant finish. A variety of brushes are also important: a large brush for applying base coats and a small, fine brush for detailed work around stitching.
Preparing the surface properly involves using water-based primer or fine sandpaper if the boots are slick, followed by a clean wipe. Masking tape helps create sharp lines by protecting areas like soles and edges. Finally, a satin finish paint sample ensures color accuracy and adds a protective finish to keep the design looking fresh longer.
Preparing Your Boots: Cleaning, Sanding, and Taping for Success
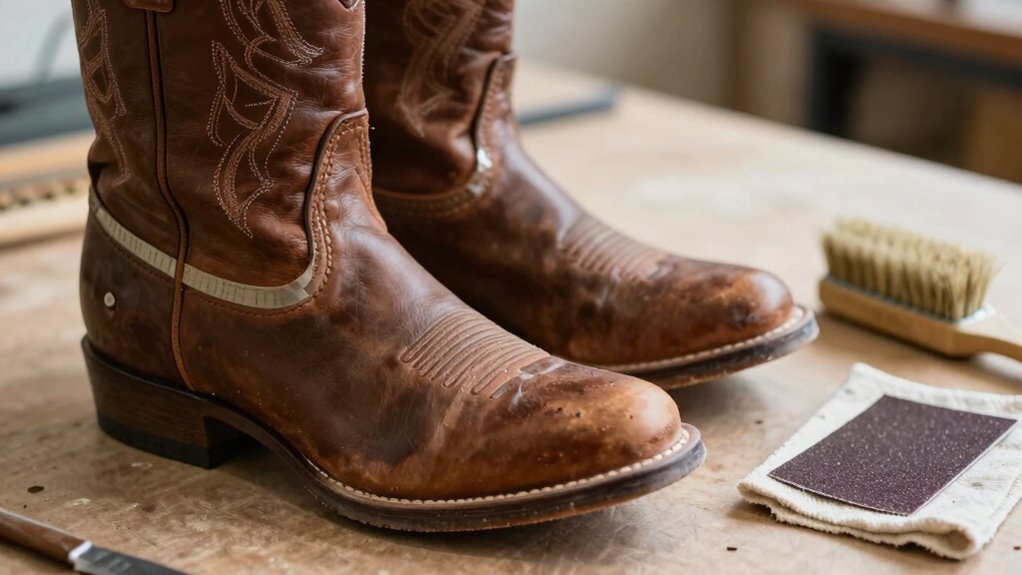
Before applying paint, it’s important to prepare the boots properly to guarantee the best results. Leather boot prep involves cleaning the surface thoroughly, using water and mild soap or a vinegar-water solution, then rinsing and letting them dry completely. If the surface feels slick or smooth, a light sanding or scuffing can help improve paint adhesion.
Applying one coat of BOSS primer is recommended for tight coverage and better surface priming. Masking tape is essential for protecting areas like the soles and upper sections you don’t want painted; it also helps create sharp, clean edges. To keep your workspace tidy, secure the tape with painter’s tape and set up the boots on a cardboard surface. Proper prep sets the stage for a smooth painting process and a stunning finished look.
Step-by-Step Painting Process: From Base Coat to Artistic Details
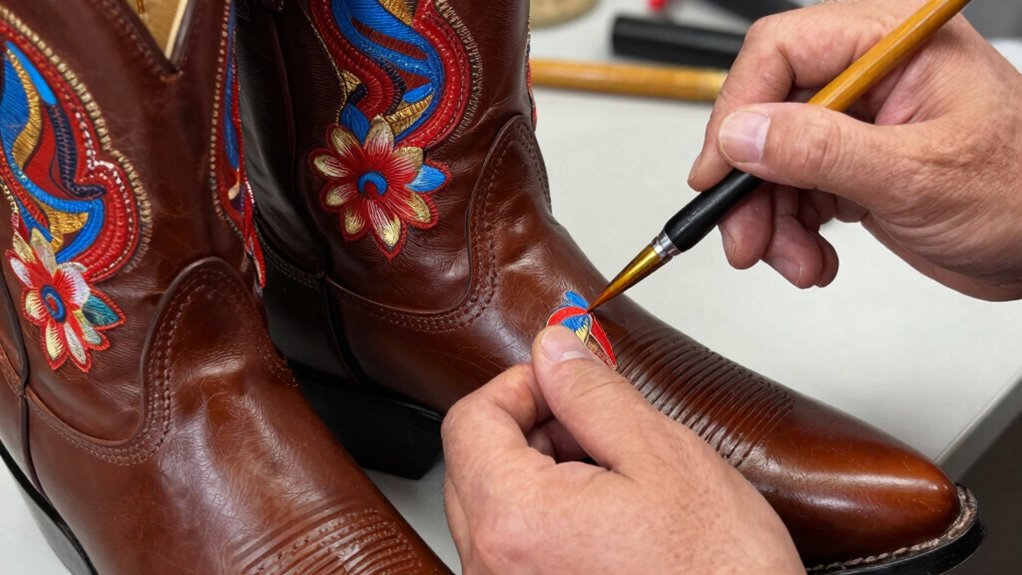
Would you like your cowgirl boots to look polished and professional, or do you prefer a more artistic, handcrafted finish? This decision guides the cowboy boots painting process. First, apply a water-based primer after taping off areas you don’t want painted, letting it dry for about an hour. Next, use a larger brush to lay down the base coat, which provides a uniform background for your boot paintings.
Once dry, switch to smaller brushes for detailed painting and second coats as needed, blending colors with a light spritz of water to avoid harsh lines. After the colors set, a second coat smooths out streaks. This step-by-step approach ensures your artistic details truly shine, whether aiming for a sleek or a creative finish.
Finishing Touches and Proper Care: Protecting Your Custom Cowgirl Boots
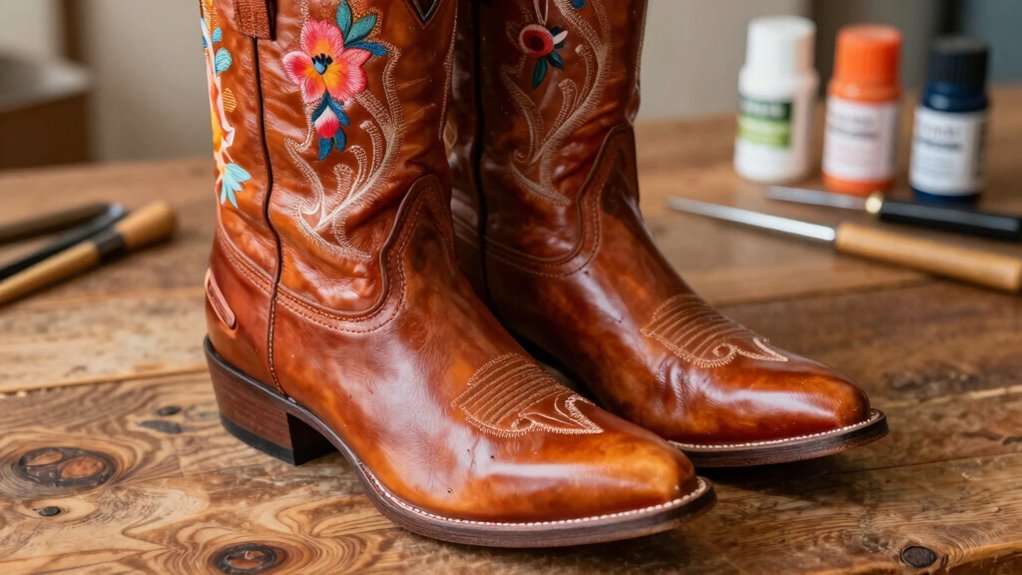
Once the painting is complete and the boots have dried thoroughly, it’s time to think about protecting that artwork and keeping the leather in good shape. For cowboy boot paintings and other creative boot painting ideas, applying a protective top coat helps preserve the vibrant colors and intricate details. Options like Hemp Seed Oil, Clear Best Dang Paste Wax, or Easy Peasy Spray Wax can be used after testing on a small hidden area to ensure compatibility.
For worn-in boots, these products also condition the leather, adding a gentle sheen and preventing cracking. If the boots will be worn regularly, focus on leather conditioning alongside surface protection. Removing masking tape after drying ensures clean edges, giving a polished look before stepping out in your personalized, beautifully painted boots.